
A label is a small piece of print with a big job. It has to survive handling, stay stuck, and still be readable when it reaches the customer. Good premium label supply templates give you the correct dimensions and safe zones up front, so your design lands on the sheet or roll exactly where you meant it to. This guide walks through choosing sizes, setting up bleed, picking materials and exporting files a printer will not send back.
Start with where the label will live
Before you open any template, answer three questions. What surface is it going on? How will it be handled? How long does it need to last?
A shipping label sits on a flat cardboard box and only needs to scan and be read for a few days. A jar label curves around glass, may meet moisture in a fridge, and gets handled constantly. A product label on a cosmetic bottle has to resist oils. Those answers decide your size, your material and your adhesive, long before color or fonts matter.
Measure the real object. Wrap a strip of paper around the jar, mark the overlap, and measure the flat length. Do not trust the nominal size printed on a packaging catalog.
Common label sizes and what they suit
Sizes vary by region and supplier, so treat these as starting points and confirm with your printer or sheet maker.
- Shipping labels: often a half-sheet or a 4 x 6 inch format, sized to the carrier’s requirements.
- Address labels: small rectangles, typically several per sheet, for envelopes and return addresses.
- Round labels: 1 to 3 inches across, handy for sealing bags, boxes and small tins.
- Jar and bottle wraps: wide and short, sized to the circumference minus a gap so edges do not overlap awkwardly.
- Packaging stickers: squares and ovals for tissue paper, mailer boxes and gift bags.
Choose the template that matches your sheet or roll exactly. Even a 1 mm difference in the grid can push text off the cut line across a full sheet.
Why bleed and safe zones matter
Printers cut with a blade or a die, and neither lands perfectly every time. Bleed is extra artwork that extends past the cut line, usually around 1/8 inch (about 3 mm), so a tiny shift does not leave a white sliver. The safe zone is the opposite: an inner margin where text and logos stay, so nothing gets clipped.
A solid layout rule looks like this.
- Extend background color or image into the bleed area.
- Keep all text at least 1/8 inch inside the cut line.
- Leave extra room on wraparound labels where a seam will fall.
- Never place a barcode near an edge.
Good premium label supply templates mark these three zones with guide layers. Turn them on while designing, then hide them before export.
Pick the material for your premium label supply templates
Paper is cheap and takes ink beautifully, but it scuffs and absorbs moisture. Matte paper suits dry goods, candles and gift tags. Gloss paper makes color pop and wipes clean more easily. Vinyl and polyester films survive water, cold and rubbing, which is why they show up on bottles, tools and anything that gets wet. Kraft stock gives a natural look but dulls bright colors, so test before committing.
Adhesive matters just as much. Permanent adhesive suits most products. Removable adhesive works for temporary tags. If your container is textured or very cold, ask the supplier about a stronger formulation, and always test one on a real item for a full day.
A coating or laminate can add protection. It also changes the surface feel and sometimes the color, so check a sample.
Preparing the print-ready file
This is where jobs fail. Follow the printer’s specifications first; where they are silent, these habits are sensible.
- Use the correct color mode. Many commercial presses expect CMYK. Screens show RGB, so colors will shift. Preview a proof.
- Aim for 300 dpi on photos and raster images at final size.
- Convert text to outlines or embed fonts, so nothing substitutes.
- Export a PDF with the trim and bleed settings your printer asks for.
- Keep a flat copy with no hidden layers and no stray objects off the page.
- Name the file with size, material and quantity so nothing gets mixed up.
Black needs care. Small text in rich multi-ink black can blur if the plates misalign, so use a single-ink black for fine type and barcodes.
Design details that save reprints
- Keep type at a readable size. Under about 6 point gets fragile on curved or textured surfaces.
- Contrast beats cleverness. Light gray on cream looks lovely on a screen and disappears on a shelf.
- Leave a clear area around QR codes and test scanning from a printout, not the monitor.
- Put required information (ingredients, warnings, weight, contact details) where it is visible without peeling the label. Check local rules for what must appear on food, cosmetics or similar goods.
Order a proof before you buy premium label supply templates in bulk
Ask for a physical proof, or print one on your office printer at 100 percent scale and wrap it around the real container. Check the seam, the type, the color and the scanning. Then order a short run before a large one. It costs a little more per piece and can prevent an expensive mistake.
If you sell items through a shop or event, matching flyers help too, and our real estate templates show how a consistent print kit looks when flyers, signs and sheets share a design. For crafters labeling handmade goods, quilting templates covers tagging finished pieces with care instructions.
Storing and reusing templates
Keep a master file for each label size, with the guides on a separate layer. Duplicate it for each new product, change only the text and artwork, and save the exported PDF with a date. A short log of which material, adhesive and printer you used lets you reorder a perfect match in minutes rather than guessing again.

Written by thadmin_r7
The Templates Hub editorial team writes practical, plain-English guides for everyday readers.
More articles by this author →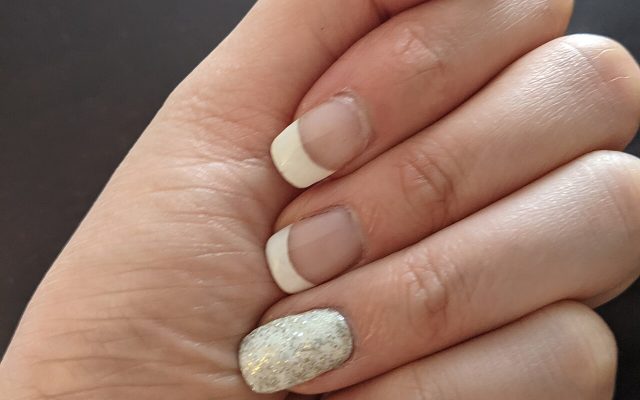
Nail Templates: Stencils, Guides and Printable Shapes Guide
If you have ever tried to paint a clean French tip freehand, you already know why nail templates…
Router Templates for Woodworking: Make Reusable Jigs
Router templates are simple guides that let a woodworker cut the same shape again and again. A well-made…
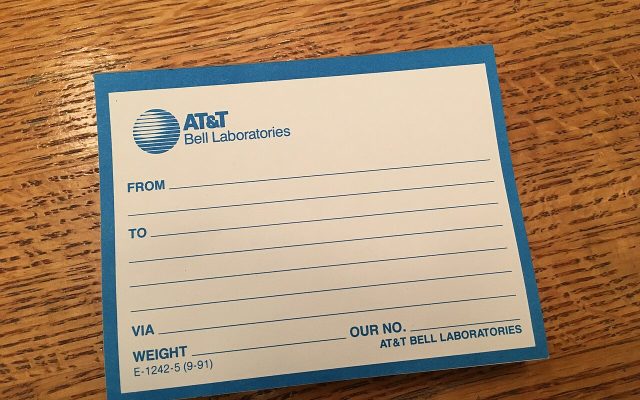
Avery.com Templates: Finding and Using Label Layouts
www.avery.com templates explained: match your product number, pick the right layout, set up the print and avoid common…
Infographic Templates: Tips to Make Data Easy to Read
Infographic templates let you present facts, steps and comparisons as pictures that people actually finish reading. Rather than…