
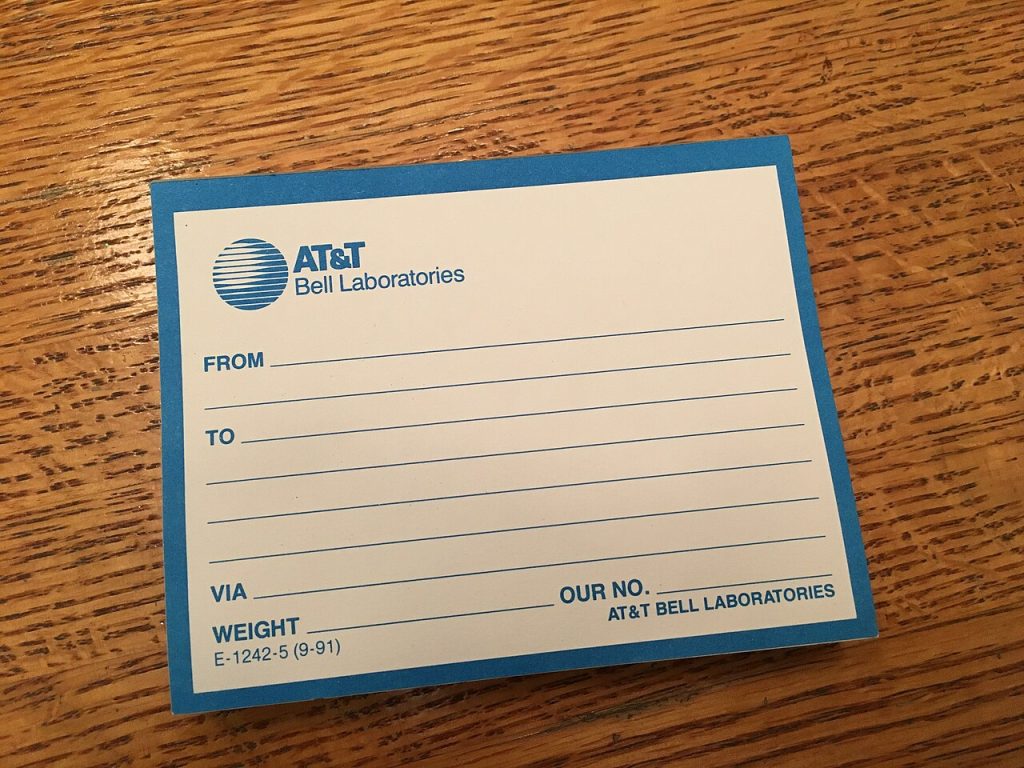
If you have ever bought a pack of sticky labels and then tried to print on them, you know the problem: the text lands half a centimetre off, one row is cut in two and a third of the sheet is wasted. That is the reason people search for www.avery.com templates. Avery publishes layouts for its label, card and tag products, so your print lines up with the cuts on the sheet. Here is how to use them well. Check the current options on the official site, since products and tools change.
Start with the product number
Every Avery product has a number printed on the packaging, usually a short code. That number identifies the exact size, shape and layout of the sheet. Use it to find the matching template, rather than guessing from the look of the label. Two sheets that appear similar can differ by a couple of millimetres, which is enough to ruin alignment.
Ways to get a template
Avery’s site offers an online design tool and downloadable files for common word processors and design programs. The online tool lets you pick your product, choose a design, add text and images and print directly. Downloaded templates open in your own software, which is handy if you already have a mailing list or a design file. Choose the option that fits your workflow.
Mail merge for address labels
If you need to print many different addresses, mail merge saves hours. You keep the names and addresses in a spreadsheet, one row per person, with clean columns for name, street, city and postal code. In your word processor, you select the label layout, connect the spreadsheet and insert the fields. A preview lets you check before printing. Clean data matters, since an extra space or a missing column will show up on every label.
Print settings that matter
Alignment problems usually come from the printer dialogue, not the template. Set the page size to the paper size you are using, and turn off any “fit to page” or “shrink to fit” option, because scaling shifts the layout. Choose actual size, or 100 percent. If your printer offers a label or heavy paper setting, use it so the sheet feeds correctly.
Test on plain paper
Before using real labels, print one sheet on ordinary paper and hold it up against a label sheet in front of a light. Check that the text sits well inside each label. If the layout is slightly off, adjust the margins in small steps, or look for alignment settings in the print tool. Doing this once saves an expensive sheet.
Design tips for labels
Keep text short and readable, at least a clear size for the printed distance. Leave a margin inside each label so nothing looks cramped. Use high-contrast colours, and choose a simple font. For logos, use a clean image at good resolution. If you plan to print a design that runs to the edge, check whether your product supports bleed, and choose a layout designed for it.
Choose the right material
Labels come in matte, glossy, clear and waterproof types, and some are made for inkjet or laser printers specifically. Using the wrong type can cause smudging or even jam a printer. Match the material to your printer and to where the label will live, such as a jar, a box or a shipping package. For ideas on stickers and print layouts, our guide to sticker templates covers cut lines and safe areas.
Common uses
- Return and shipping addresses.
- Product and jar labels for small businesses.
- Name badges and event tags.
- Mail for wedding invitations, which can also use matching envelopes; see wedding invitation templates.
- File folders and storage boxes.
Troubleshooting
If the text prints too high or low, adjust the margins. If labels jam, fan the sheets, load them as the manual suggests and avoid sheets that have been through the printer before. If colours look dull, check the quality settings.
Working with your documents
Templates open best in common software, so see word templates for tips on managing layouts and styles. If you sell products, make sure your labels carry the information required in your country, and consider how to present your pricing, as in how to price your services.
Designing your own label layout
If you want a custom look, start with the template’s outline and add your artwork inside it. Keep any text well inside the label boundaries and avoid placing important details at the very edge, because small misalignments are normal between printers. Save the finished design as a PDF and keep the source file, so you can reprint next month with a quick change of text.
Storing and reordering
Write the product number on a note and keep it with your design files, or add it to the file name. When your stock runs out, you can reorder the same product and reuse the exact layout. Small habits like this prevent the annoying situation where you buy a similar sheet that is a little different and nothing lines up.
Summary
Find your product number, pick the matching template, set the print to actual size, test on plain paper and use clean data for merges. Careful setup makes label printing painless. For background on the company, see Avery Dennison on Wikipedia.

Written by thadmin_r7
The Templates Hub editorial team writes practical, plain-English guides for everyday readers.
More articles by this author →
Nail Templates: Stencils, Guides and Printable Shapes Guide
If you have ever tried to paint a clean French tip freehand, you already know why nail templates…
Router Templates for Woodworking: Make Reusable Jigs
Router templates are simple guides that let a woodworker cut the same shape again and again. A well-made…
Infographic Templates: Tips to Make Data Easy to Read
Infographic templates let you present facts, steps and comparisons as pictures that people actually finish reading. Rather than…

Tattoo Templates: Stencils, Flash Sheets and Safe Prep
Tattoo templates explained: flash sheets, stencil paper, sizing on the body, and why a design should always be…