
3d printer templates save you from the most annoying part of a new hobby: staring at an empty slicer window and wondering where to even begin. A template here usually means one of three things, a ready-made model file you can tweak, a project file with sensible print settings, or a flat design layout you convert into something printable. Which one you need depends on what you’re making.
What people actually mean by 3D printer templates
The phrase is loose, so let’s pin it down. Most searches land on one of these categories.
- Parametric models. A base shape (a box, a bracket, a keychain, a phone stand) where you change the dimensions or the text and export a fresh file.
- Slicer profiles. Saved settings for layer height, infill, speed and supports for a specific printer and filament. They aren’t models, but people call them templates all the time.
- Flat-to-3D designs. Vector artwork such as a logo, a cookie cutter outline or a sign, which you extrude into a solid shape.
- Project layouts. Planning sheets and checklists for print jobs, especially if you sell what you print.
Knowing which bucket you’re in stops you from downloading twenty files that don’t solve your problem.
File formats you’ll run into
Most printable models travel as STL files, which describe only the outer surface of a shape. There’s also 3MF, which can carry extra information like units and multiple parts, and OBJ, which is common when a model started life in a graphics program. Your slicer is the software that turns any of these into instructions for the printer, and nearly every slicer opens STL without fuss.
If your template is a vector file (SVG), you’ll need a design program or a slicer feature that extrudes it into a 3D shape first. That’s a two-step process, but it works well for signs, stamps, and stencils.
Where to look for good starting files
Public model libraries are the obvious source, and the big ones, such as Printables and Thingiverse, host huge numbers of user-uploaded designs. Quality is uneven. Look at the photos of actual prints, not just renders, and read comments from people who printed the thing on a machine like yours.
Your printer manufacturer’s own site is also worth a check, since test models and calibration pieces are often published there. And if you design in CAD, many programs ship with example parts you can reuse as a starting point.
One honest warning: licensing varies per model. Some designs are free for personal use only, some forbid selling prints, some allow remixing with credit. Read the license on each page. Our short primer on copyright basics online covers the general ideas, and they apply here just as they do to graphics.
Choosing a template that will print well
A model can look fantastic on screen and still fail on your bed. Run through this quick checklist before you hit print.
- Check the overhangs. Steep angles without support print droopy. If the designer notes that no supports are needed, that’s a good sign.
- Look at the flat face. A large, flat surface to sit on the build plate means better adhesion and fewer failed starts.
- Confirm the size. Compare the model’s dimensions with your printer’s build volume before slicing.
- Think about wall thickness. Very thin walls may not print at all at the nozzle width you use.
- Read the notes. Good uploads say which orientation, layer height and material worked for them.
A simple workflow for your first week
Start small. Print a calibration cube or a basic test piece, because it tells you more about your machine than any fancy model will. Then pick one useful object, say a cable clip or a spool holder, and print it with the author’s recommended settings. Only after that, begin modifying.
When you do modify, change one thing at a time. If you resize a model, adjust the text, and switch the material all at once, a failed print teaches you nothing. Save each working version of your project file with a clear name, such as phone-stand-v2-wider-base. Future you will be grateful.
Using templates for small-batch selling
If you plan to sell prints (keychains, planters, organizers), a template saves time but creates new questions. Check the license first. Then track the real cost per piece: filament, electricity, failed prints, packaging and your time. A basic spreadsheet works, and our budget templates are a decent place to start for that kind of tracking.
Don’t guess at the numbers. Weigh a finished piece, note the print time, and keep a running log for a few weeks until you have real averages rather than hopes.
Designing your own template
Once you’ve printed enough of other people’s work, you’ll start wanting something custom. A parametric approach pays off here: build the design with named dimensions, such as width, height and wall thickness, so you can reuse it. Free CAD tools support this, and so do some browser-based editors.
For artwork-heavy projects, like a logo plaque or a custom sign, some people sketch the outline with help from free AI design tools and then clean the result up as a vector file before extruding it. Always check the result by hand. Generated outlines tend to contain tiny gaps and stray points that cause trouble in a slicer.
Common mistakes with 3d printer templates
A few patterns come up again and again.
- Downloading a model sized for a different printer and not scaling it.
- Ignoring tolerances. Parts that must fit together usually need a little clearance, often a fraction of a millimeter, and you’ll find the right value by testing on your own machine.
- Copying someone else’s slicer profile without matching the filament. Different materials behave differently, even in the same color.
- Skipping the first-layer check. Most failures begin in the first few minutes.
- Forgetting that a printed hinge or snap-fit can be brittle in certain materials.
Keeping your files organized
It sounds boring, but a folder structure will save you hours. One folder per project, with subfolders for original downloads, your edited versions, sliced files and photos of the results. Add a plain text note listing the settings that worked and the license of the source model. If you ever sell or share a print, that note answers questions before anyone asks them.
Many makers also keep a short log of failures: what went wrong, what they changed. It’s the closest thing to a personal manual, and it grows more useful with every print.
Where to go from here
Pick one project this weekend, preferably something you’ll actually use. Find one of the 3d printer templates that fits it, read the license, check the notes, and print it with the suggested settings. Then change a single dimension and print it again. That small loop of download, print, adjust, repeat is how nearly everyone gets comfortable, and it beats any amount of reading.
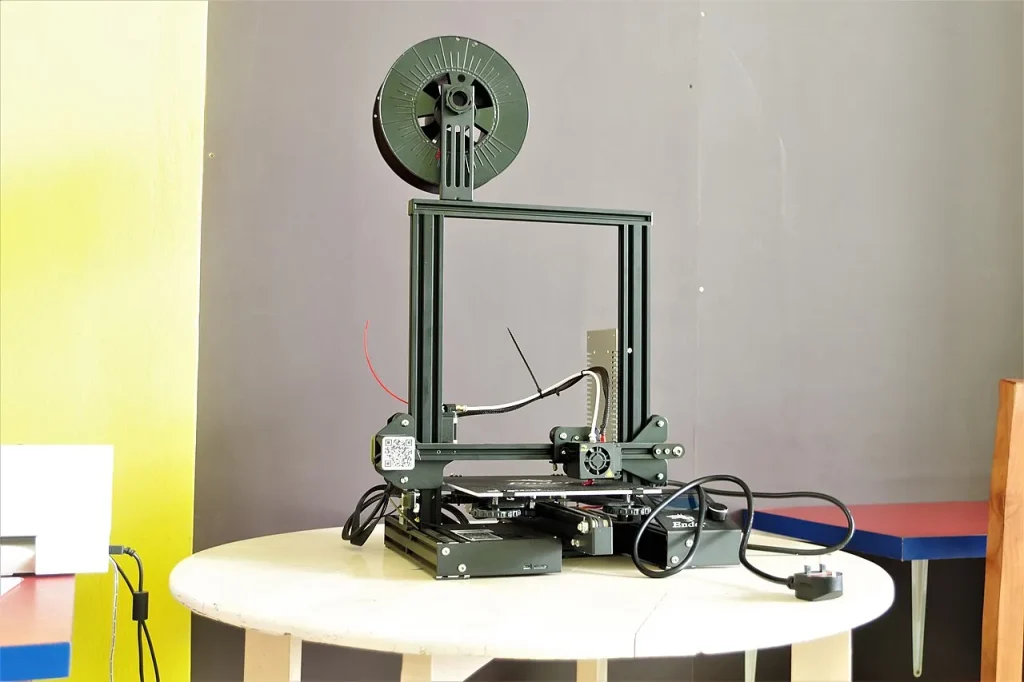
Featured photo: Adoscam via Wikimedia Commons (CC BY-SA 4.0).

Written by thadmin_r7
The Templates Hub editorial team writes practical, plain-English guides for everyday readers.
More articles by this author →
n8n Templates: Import, Adapt and Run Ready-Made Workflows
Anyone who has tried to build an automation from nothing knows the feeling: you have a clear goal,…

How to Use AI to Create Templates (Step by Step)
Knowing how to use ai to create templates can cut a day of formatting down to an hour.…

Top AI Design Templates: What to Look For and How to Use Them
Top AI design templates compared by purpose: social posts, slides, logos and layouts, with tips for editing AI-made…

Practical AI Business Use Case Prompts Templates to Reuse
Most people type a quick request into an AI assistant, get something bland, and decide the tool is…